The art of calligraphy drawing, steeped in tradition and history, continues to be a captivating form of expressive writing across the globe. From its rudimentary beginnings etched on ancient artefacts to its modern-day usage in various fields, the beauty and elegance of calligraphy are irrefutable. This review endeavours to delve into the heart of this fascinating art form, exploring its rich heritage, its assorted styles, and the fundamental strokes that form its foundation. Additionally, a brief discussion on the tools of the trade – pens, nibs, inks, paper – and their handling and maintenance practices, will aid in fostering a comprehensive understanding of calligraphy drawing.
Understanding Calligraphy Drawing
The History of Calligraphy Drawing
Calligraphy drawing dates back to ancient civilizations, nurtured by the Chinese, Greeks and Romans. In China, it ranks alongside poetry as one of the best ways to self-express, while in the West, it was applied in the inscription of Greek and Latin scripts on stones and parchment. The Middle Ages saw it evolve into a royal pursuit, with monks using it to document religious texts. Later centuries in the West saw it lose Prominence due to the invention of the printing press, but it regained attractiveness in the Arts and Crafts movement in the late 19th and early 20th centuries.
Types of Calligraphy
Different cultures have developed unique forms of calligraphy. Chinese, Japanese, Arabic and Roman are among the chief styles. Chinese and Japanese styles are similar, focusing on the brush strokes’ fluidity and balance. Arabic calligraphy has a rhythmic nature, observing strict rules for letter shapes, marks and arrangement. Roman scripts are used heavily in Western calligraphy and are characterized by variation in line width within a single character and a balance between thick and thin strokes.
Understanding the Strokes
A stroke is the movement made by the calligrapher’s hand or tool to craft a character. Various strokes produce different effects and variations in letter designs. Basic strokes in calligraphy fall into eight categories: basic down stroke, entrance stroke, under-turn stroke, over-turn stroke, compound curve stroke, oval stroke, ascending loop stroke, and descending loop stroke. The mastering of these strokes is essential to creating beautiful letters and texts.
The Importance of Strokes in Calligraphy
Each stroke in calligraphy carries weight, direction, and movement. They act as the building blocks for customizing and beautifying letters and designs. Manipulating the width and direction of a stroke can drastically change the appearance of a letter, lending character and style to the script. The evolution of every alphabet in calligraphy relies heavily on the strokes’ quality, which is why grasping their importance is a crucial part of learning calligraphy.
Photo by anniespratt on Unsplash
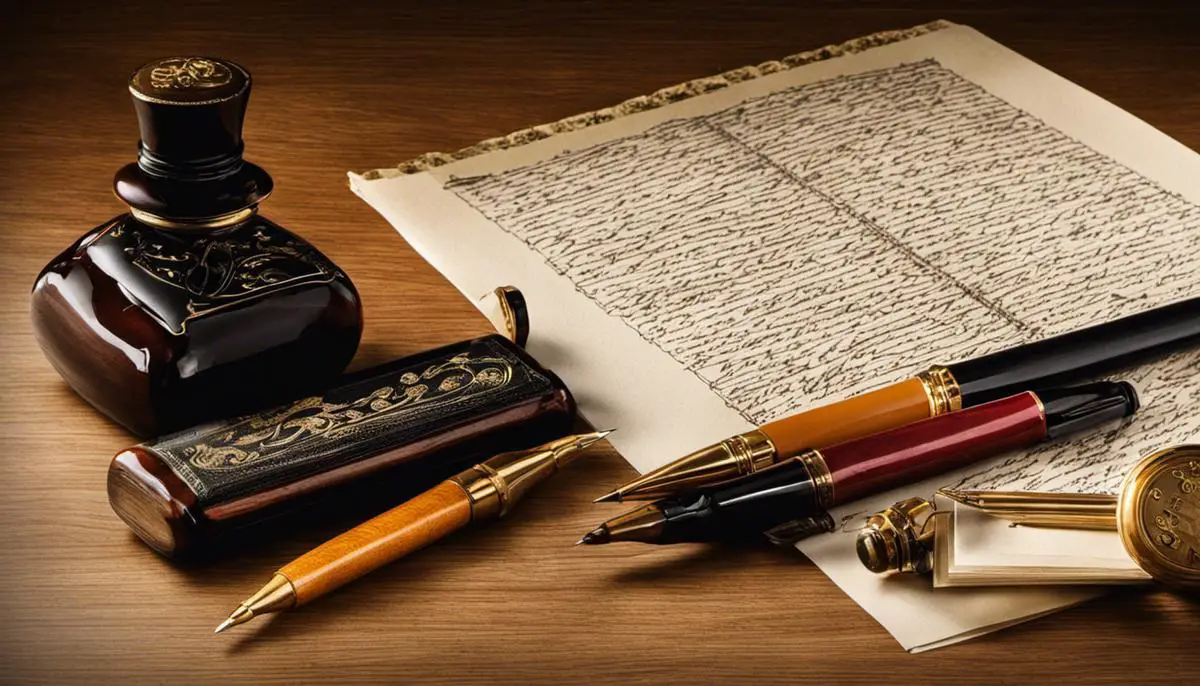
Calligraphy Tools and Materials
Understanding Calligraphy Tools and Materials
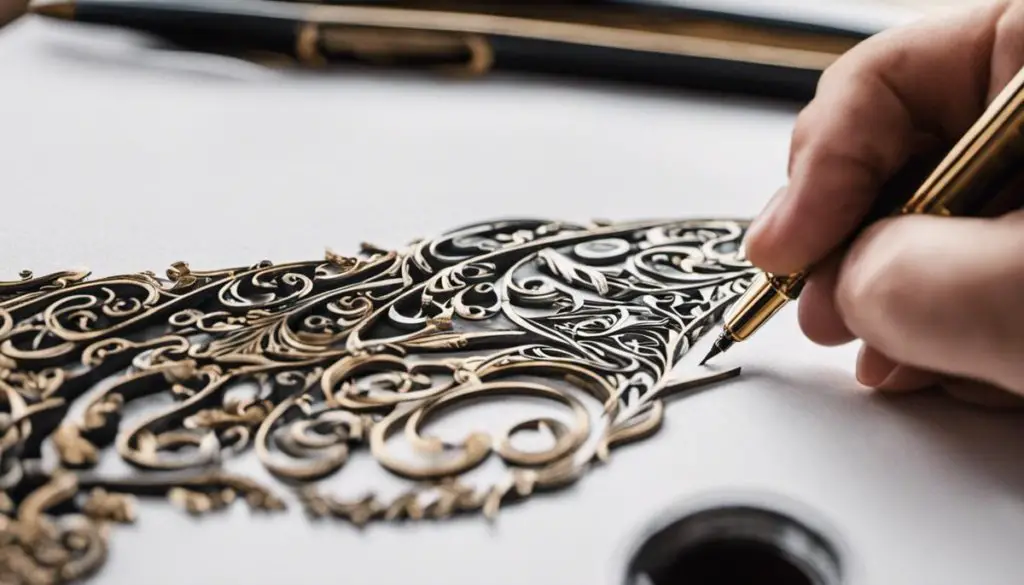
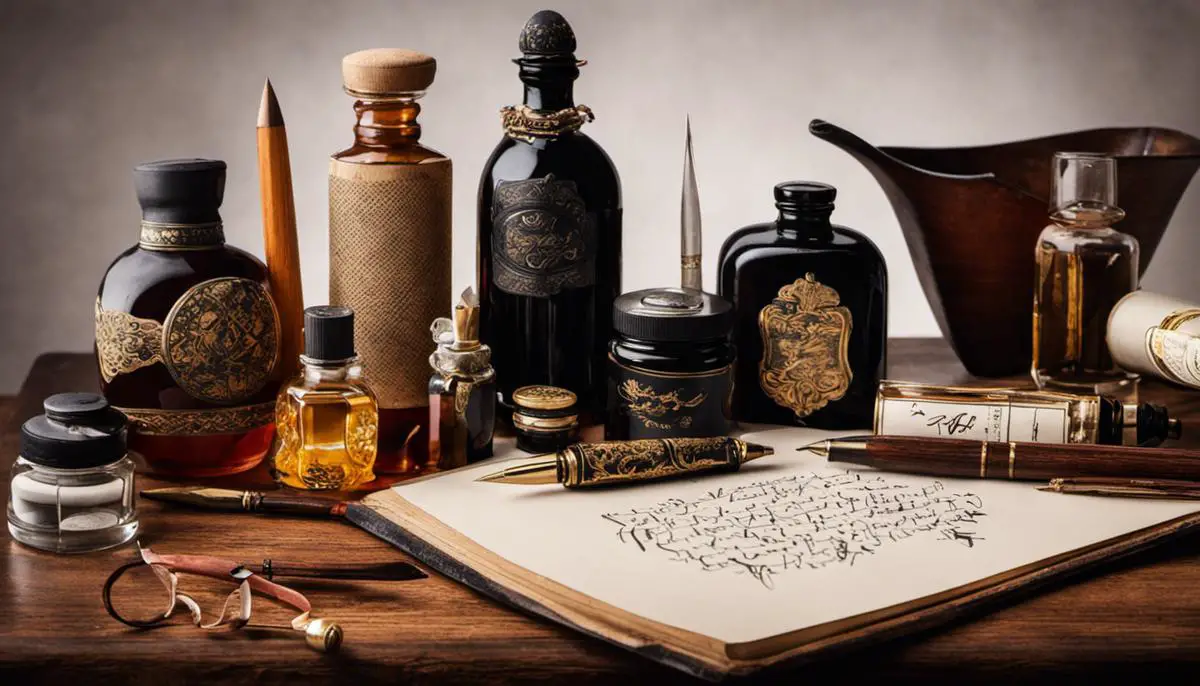
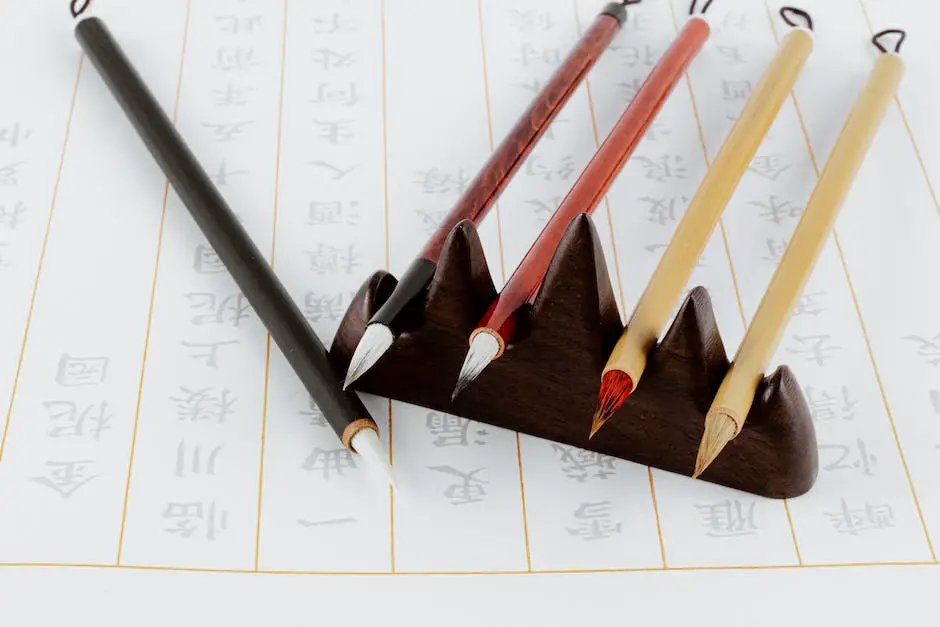
The art of calligraphy requires specific tools and materials. To effectively create enticing calligraphy strokes, a calligraphy pen, composed of the pen itself and a removable nib, is crucial. To select a pen, the comfort and grip offered by its handle play an important role. Barrels come in a range of materials from wood and plastic to metal, each delivering a different weight and feel in your hand.
Nibs, the metal pieces that you dip into ink to write, are another key component. These come in a variety of shapes and sizes including broad, round, and pointy. They affect the thickness and style of lines made on paper. Broad nibs are excellent for Old English and Gothic styles, while flexible pointy nibs are typically used for Copperplate and Spencerian scripts. To maintain these nibs, ensure that they are stored in a dry and cool area to prevent rusting and clogging. Before the first use, you might also want to clean them in warm soapy water to remove any manufacturer oil.
Ink is the lifeblood of calligraphy. The choice of ink will depend on the desired finish and the paper type. Two main types of ink are commonly used in calligraphy: water-based and oil-based. Water-based inks are popular because they are easier to work with and come in a multitude of colours. Oil-based inks, on the other hand, provide a glossy and robust finish but require more careful handling.
Finally, the paper you choose for your calligraphy can make a significant impact. It should ideally be heavy enough to hold ink without feathering or bleeding. Typical recommendations include thick papers and card stocks. If you’re just starting out, it’s best to choose a paper with a smooth surface to aid in the smooth flow of ink. Applying a blotting paper atop your finished work will protect it from smudging and help soak up any excess ink.
These are the key tools associated with calligraphy. Learning how to handle them correctly, and understanding where each tool is best used is crucial for the aspiring calligrapher. Be sure to clean your tools after use to keep them in peak condition.

Basic Calligraphy Strokes and Techniques
Understanding Calligraphy Foundation and Equipment
The art of calligraphy consists of three main components: letter formation, stroke order and pen angles. It’s important to use the right tools for calligraphy as well. Usually, a pointed pen or dip pen, ink and calligraphy paper are used. However, for beginners, a simple calligraphy marker will suffice.
Learning the Letter Formation
Letter formation in calligraphy is intricately complex yet stunningly beautiful. Each letter is composed of several individual strokes, which when combined, create a calligraphic letter. The key to calligraphy is consistency in these strokes. Pay close attention to the pattern of thick and thin lines as well as spacing.
Understanding Stroke order and Pen Angles
Next step is understanding stroke order and pen angles. In calligraphy, strokes are not just drawn in any order. There’s a specific sequence to them. This is known as the stroke order. For instance, the letter ‘A’ begins with a thin upstroke and is followed by a thick downstroke.
When it comes to pen angles, they play a critical role in the thickness and thinness of strokes. Typically, the pen is held at a 45-degree angle while drawing the strokes. This angle ensures the correct balance between thick and thin lines in calligraphy.
Practising Basic Strokes
While learning calligraphy, you need to practice a variety of basic strokes before you start creating letters. These include upward thin strokes, downward thick strokes, oval strokes, and over-turn and under-turn strokes. Practice each stroke repeatedly until you achieve a consistent shape and thickness.
Steady Practice
After understanding the letter formation and mastering the strokes and pen angles, the next step is consistent practice. To improve your skills, write out the alphabet, focusing on each letter’s form and stroke order. As your control improves, begin to combine the letters into words and sentences.
Remember to take your time, over time, your speed and fluidity will naturally increase. Calligraphy drawing is not just about skill, it’s also about patience and detail. So, keep practising until you become at ease with this beautiful art form.
Lettering and Composition
Getting to Grips with Different Styles
Start your journey into calligraphy drawing by first getting to grips with different calligraphy styles. There are various styles of calligraphy alphabets including Gothic, Roman, Celtic, Old English, and Italian to name a few. Make yourself familiar with these diverse styles, identifying their differences and unique characteristics. Practice each of these styles, starting with simple letters and gradually working your way up to complete alphabets.
Composing Words and Sentences
Once you’re comfortable with individual letters, start composing words and then sentences in your chosen calligraphy style. Remember, legibility is key in calligraphy. To ensure this, ink your strokes properly with your calligraphy pen. Start from the top and move downwards, using a light stroke. For thicker strokes, increase the pressure on your pen. Take time mastering this technique as it forms the basis of your calligraphy writing.
Spacing and Layout
An important aspect of calligraphy involves not just how the letters are written, but also how they are arranged on a canvas. In calligraphy, layout pertains to the arrangements of letters and words on the page, while spacing pertains to the space between the letters, words, and lines on the page. Proper spacing helps to create balanced and harmonious artwork. Practice with a blank grid paper, discovering how to best fill space without crowding your written work.
Calligraphy Practice Sheets
Calligraphy practice sheets are an excellent way to help improve your calligraphy drawing skills. These sheets typically feature grids to guide the size and spacing of your letters, and they often include example alphabets in various styles. Use these practice sheets to guide your pen movements until you have mastered each letter’s design.
Composition: Creating a Thoughtful Piece
To achieve a well-composed calligraphy piece, keep your pieces balanced. This pertains to both the visual elements (the shapes, letters, and lines) and the spaces between. A balanced composition is visually pleasing and creates harmony. It’s advisable to sketch out your calligraphy pieces first, lightly with a pencil, to see how everything fits together.
Rhythm and Flow in Calligraphy
Like in music, rhythm and flow are essential elements in calligraphy. It pertains to creating patterns in your lettering composition. These patterns could be repeating strokes, shapes or lines. Repeat these elements throughout your composition to establish a rhythm for aesthetic pleasure.
Keep these tips in mind as you progress in your calligraphy drawing journey, and remember, practice makes perfect!
Project Work and Practice
Materials for Calligraphy
Before you start your project, gather all necessary materials. You will need calligraphy pens or brushes, high-quality paper to prevent ink from bleeding, and ink or paint. It’s also helpful to have a ruler and pencil handy for measuring and sketching guidelines.
Familiarise Yourself with the Tools
Spend some time getting used to your brushes or pens; practice holding them at the correct angle (usually 45 degrees) to the paper. Each tool will give a different sort of line and stroke, so acquaint yourself with these variations.
Learning Basic Strokes
Every calligraphy style consists of a series of basic strokes; vertical, horizontal, and diagonal lines, loops, curves, and intersections. Practice these basic strokes separately, focusing on getting comfortable with the motion and maintaining consistent line widths.
Mastering Calligraphy Alphabets
After you’ve mastered basic strokes, it’s time to learn individual letters. Calligraphy alphabets are available online or in calligraphy books for reference. Practice each letter until you can create each one without reference, ensuring that the letters are formed accurately and you can maintain consistent stroke thickness throughout.
Writing Words and Phrases
Once you’ve grown comfortable with forming individual letters, move on to writing words and sentences. Start with simple words before gradually advancing to complex phrases.
Applying Calligraphy in a Project
Now that you’ve honed your skills, apply it in a project such as writing a quote or a poem. First, sketch your layout and text in pencil using light strokes. This helps you plan the size and alignment of your letters, and guides you when you apply ink.
Inking Your Project
Start inking your text. Dip your pen or brush into the ink, and following your pencil lines, recreate your text in calligraphy. Be careful not to smudge the ink and remember to maintain a consistent angle and pressure for each stroke.
Final Touches and Clean Up
After the ink dries, erase any visible pencil lines. You might want to add decorations or additional text for illustrative purposes. Finally, sign and date your work.
The key to successful calligraphy is practice. The more you practice, the more comfortable you’ll get with the tools and techniques, and the better your work will become. Happy creating!
Learning to master the art of calligraphy drawing not only provides an outlet for creativity, but also forms a bridge to connect with centuries of cultural and artistic history. Once the basics are deeply ingrained, transforming a blank canvas into a stunning composition, be it a meaningful quote or an evocative poem, becomes a joyous endeavour. From letter formation to stroke order, and essential tools to artistic composition, this exploration serves as a profound introduction for those wishing to embark on this deeply gratifying artistic journey. Calligraphy indeed, extends beyond pen and paper, whispering tales from the past whilst crafting an illustrious script for the future.
Recommend0 recommendationsPublished in Art Tips, How To

Responses